
Sometimes my mad sewing skills go unrecognized. Other times, I am called upon to fill requests by friends and family members. Lent Sewing Project #3 is most definitely the latter.

Earlier this week, my sister-in-law sent me a message via Facebook with a special request. She and my brother are attempting to get my niece potty-trained and apparently they told her that if she would wear big girl panties, she could have her own ballistic vest. Her daddy (my brother) is a police officer and he wears one. She wants to be just like her daddy!

So, it's Aunt Heather to the rescue! When they made this somewhat odd request, I knew exactly what I would use. Black pre-quilted fabric was the only logical choice. It gives that quilted kevlar look and weighs next to nothing. Score!
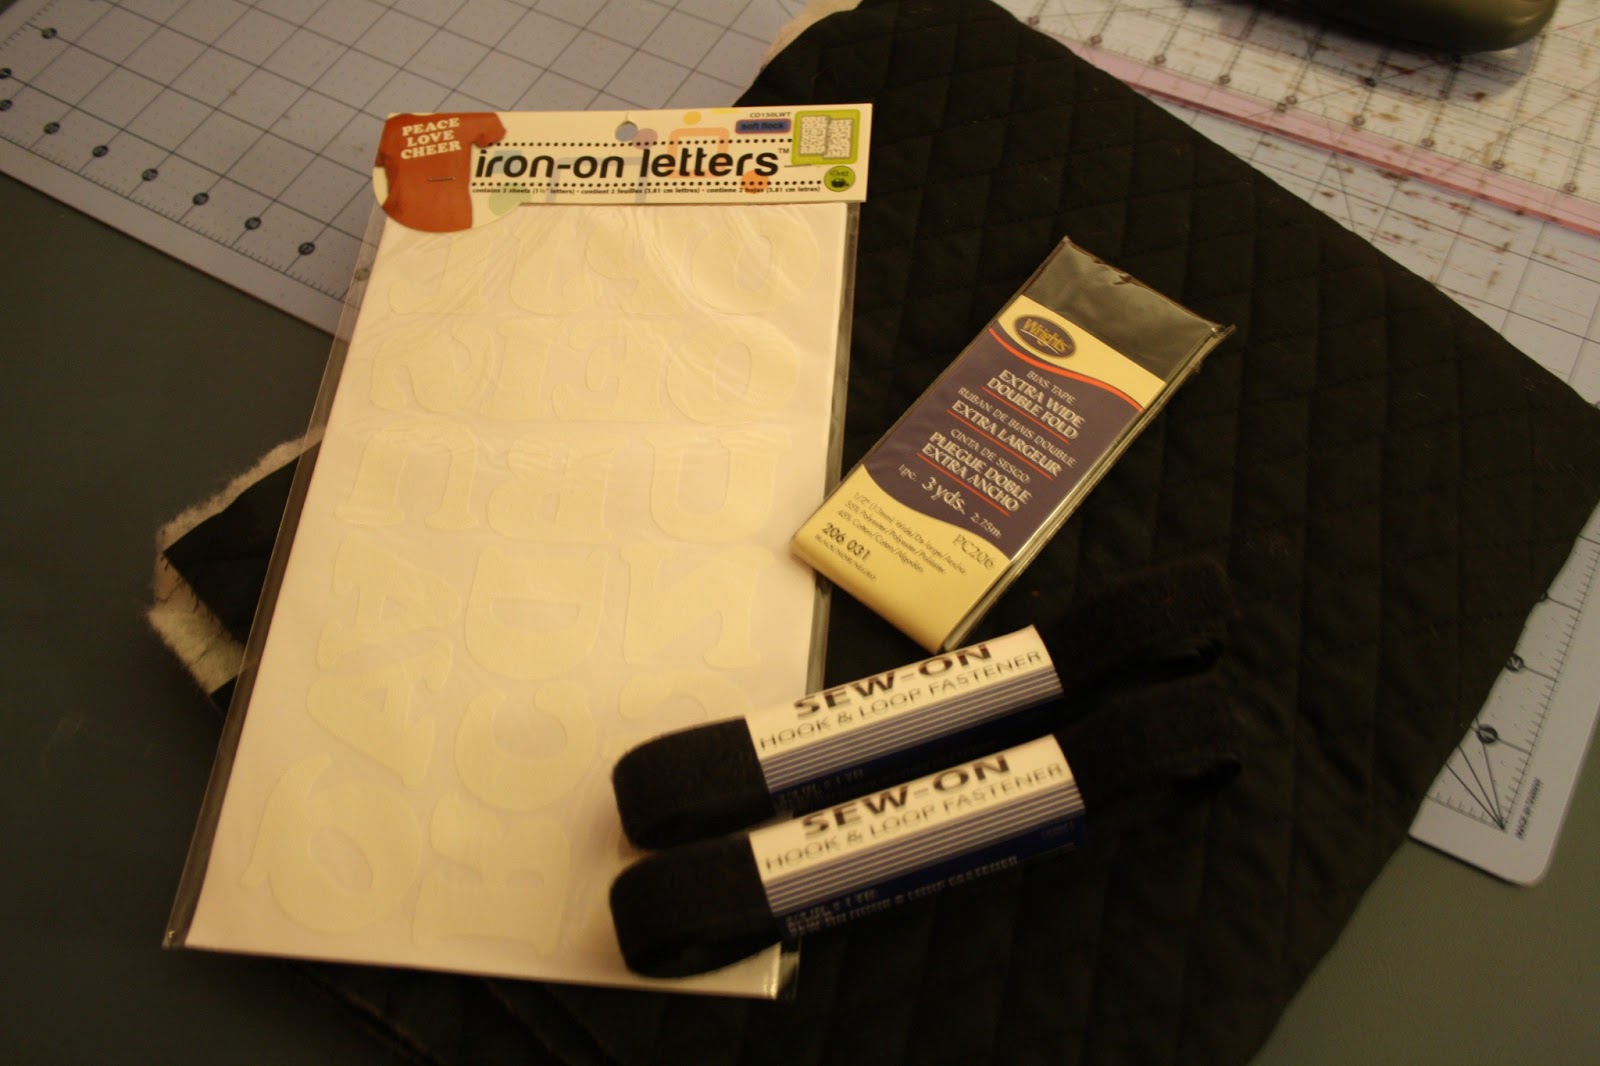
The supplies I used for this project were:
- Pre-quilted black fabric (cotton)
- Black double-fold bias tape
- Velcro
- White fuzzy iron-on letters.

Total cost: just under $10. (And I still have some letters and about 1/4 yard of fabric remaining.)
I started with Miss Madi's measurements and it just worked out that if I folded the fabric in half, it was the perfect length to go from her neck to her waist. Yay!

Once I had folded it half, I cut it evenly on each side to be the right width and I used a saucepan lid to cut the neck hole in the center. Hey, you use what you have, right?
 I then finished off each of the edges with the double-fold bias tape and cut the fuzzy side of the velcro into 3 even pieces which nearly matched the width of the vest. I evenly spaced those across the bottom of the front of the vest and sewed them down. I then cut the scratchy part of the velcro into 6 even pieces and sewed them to the back of the vest so that they can wrap around the front and keep the vest in place while she's wearing it.
Finally, after testing out a few seldom-used letters on a scrap piece of fabric (thank goodness I did!), I ironed on the letters in the word "POLICE" to the front of the vest.
Total time from start to finish: less than 3 hours. I didn't think that was bad considering I had no pattern, I was just winging it and I'm a very slow seamstress.
I can't wait to see it on her and to see her reaction to it! I'm so excited and I'm thrilled with the way it turned out! I might just have to make one for myself for my Halloween costume this year!!
To see the whole list of Lent projects, go here.
To see the whole list of Lent projects, go here.
1 comment:
Well done!
Post a Comment